Saturday, May 5, 2012

Long overdue post

Long overdue but not particularly insightful.

Turbine gun by Earlex
Winter has gone by, the two shelf units has gone from sketchup to real things. I'm now at the finishing stage, minus the back of the two top cabinet. I primed the lower cabinets using a brand new spray gun that my mother-in-law and I have purchased as a joint venture.

Spraying Zinsser primer with the Earlex 5500

It took me a few minutes before feeling like I kindof knew what I was doing. But hey, a few minutes isn't bad. It will take a while longer before I get a good sense of how the spray gun behaves when working on complex 3D structures like shelves. 

The gun was not as noisy as I though it would be when I tried it indoor. Overspray was limited to no more than 3 meters from the workpiece at most. Setting up is a chore, but once you are spraying, it is worth the effort. Cleaning was no more difficult that to clean brushes according to the exacting standards of my mother-in-law.

What is on the TODO list (short term)

I need to put together a spray booth so work can be done indoor in the garage. This is uninspiring work, but it has to be done. I'm going to go with the design from FineWoodWorking.com . All I need is to get around to buy the stuff, and get it done. Grumble.

There is a light at the end of this tunnel

I want to get a dent into the Danish cord seat. The cherry is there and certainly acclimatised to the workshop. My wife wants a back to the piece, which made me pause for a bit as I'm not sure how to integrate a back without breaking the aesthetics and simplicity. 

Friday, January 6, 2012

New Project - Dining room shelves

Sketchup of one unit
That is it, I had to put the TV stand away for a few weeks. It is technically very demanding and I find it hard to do it as well as I'd like. So, thanks to my mother in law, I got into a brand new project which should be fast and fun.

Working with plywood turned out to be a surprise: it is stable and already down to thickness. The tablesaw tear cleanly through it like butter. The only downside is that large pieces are awkward to handle. The other downside is that I missed a little bit the temperamental nature of rough lumber.

Thursday, September 29, 2011

Stanley No. 78 - After

There were much less work to do in this project that I anticipated. This is mostly due to the awesome efficiency of a product called Evaporust. I don't want to turn this post into an infomercial, but it worked perfectly, didn't need to be handled with gloves and can be reused apparently a few more time. If you are a chemist geek, the secret is a chelator targeting only iron in the salt form and not the metallic form.

So let's have a before and after moment:
Before

After.

I'm still too impatient to truly polish this to a mirror surface.
I soaked all the parts in evaporust overnight, and rinsed them off  with minimal scrubbing using a toothbrush. I then lapped the sole using a dead flat piece of MDF and two successice grit of sand paper (100, 220). I was expecting that a plane that has been welded back together like this would be out of alignment. To my amazement: no. I don't know how my wife's grand-father managed to do this, but this plane was welded back with more precision than the flatness of my last blockplane right out of the box! The 100-grit sand paper proved to be unnecessary. A little sanding on all three sides and this bad boy was back into business.

This is it, the blade was very sharp, despite some 30 years or more of inactivity. I worked on it until the bevel was very flat and honed to a razor's edge. I can't wait to have to plane a rabbet by hand. 

I think that this plane date from anywhere between 1903 and 1913. This is a perfectly functional, 100 years old hand tool.


Monday, September 19, 2011

Stanley No.78 - Before

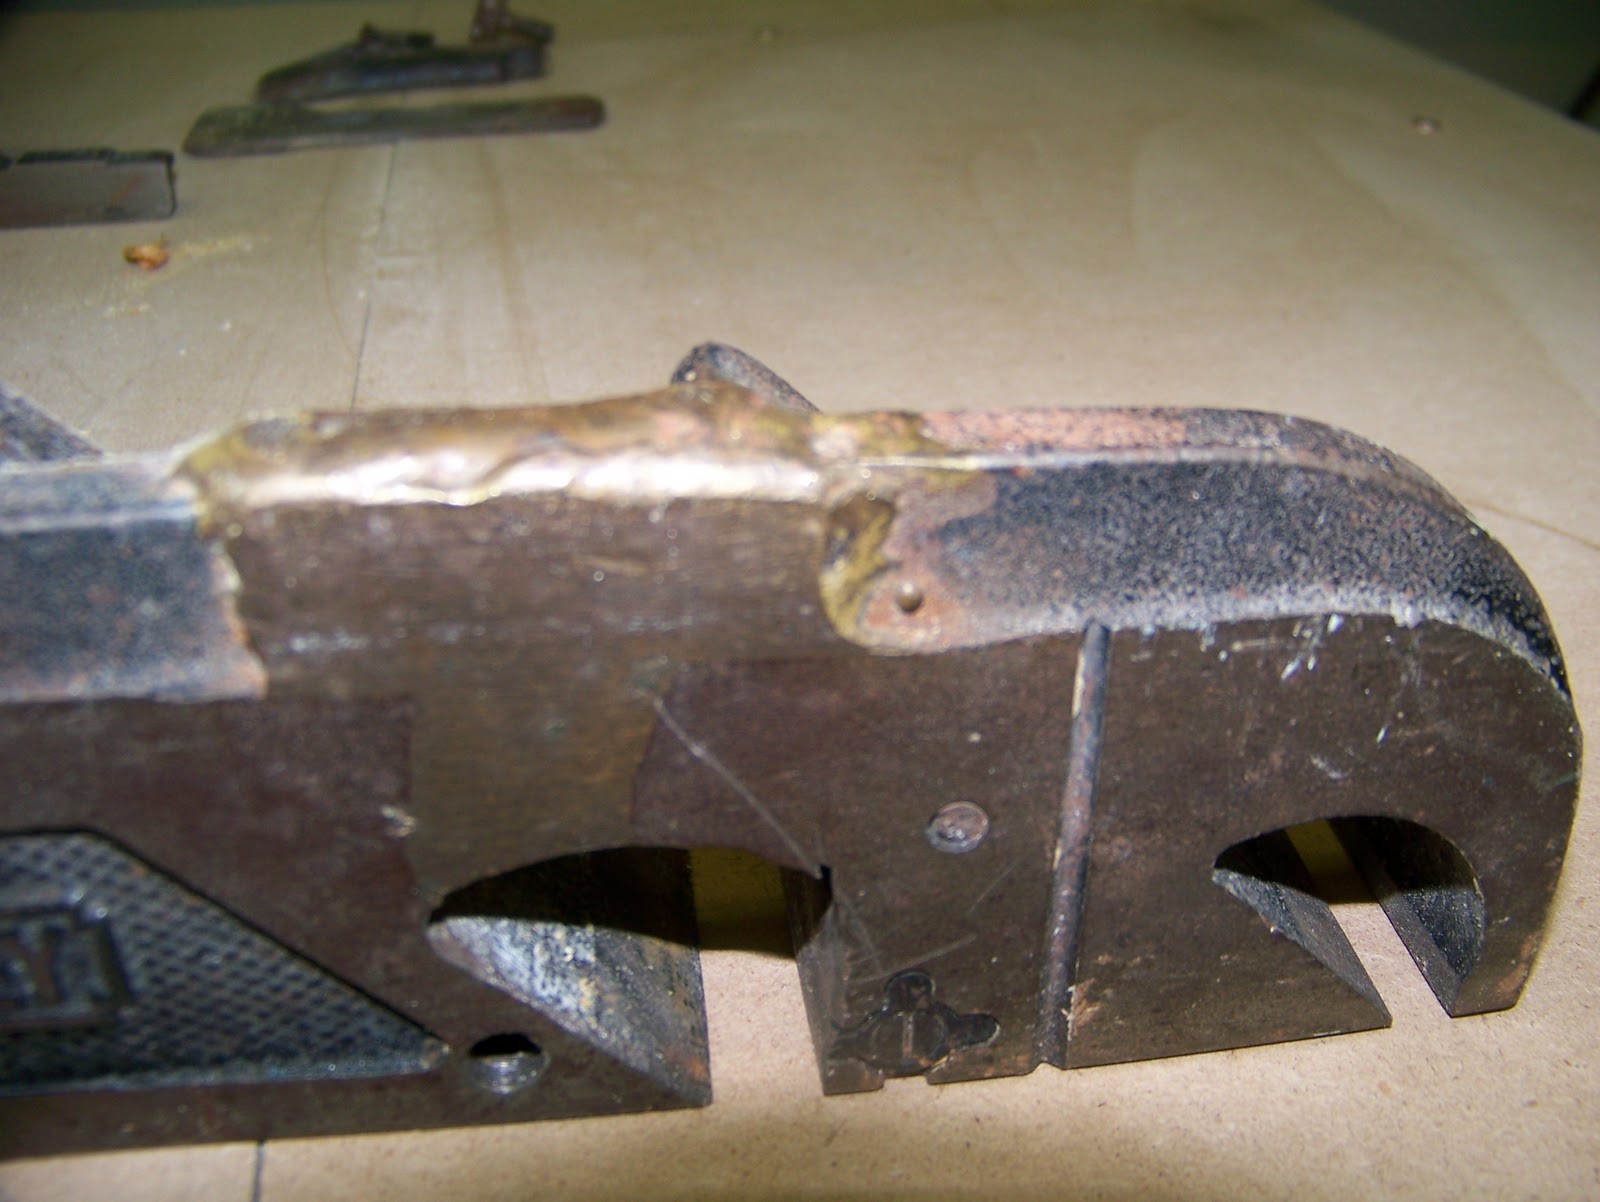
This is it, it is time to get this Stanley No.78 back to its maiden appearance. This plane, despite its rough edges, saved me hours of work when I made the buttons for the Hayrake Table. I'm twice as motivated to add this bad boy to my toolbox.
Inside face. Notice the welded seam at the top.


Outter face with fence.

What? Something was ever made in Canada?
Taken apart. Only a few parts involved.
This doesn't look great, but the sole actually looks flat.

Sunday, September 11, 2011

The Hayrake table is done!

After some odd 70 hours of work (or so), the Hayrake table is finally done. Well, almost as I need to make the buttons to fasten the top to the stretcher. However, for now we'll assume that gravity will keep this nearly 100lb table top in place.

The design is based on finewoodworking.com 's design. The difficulty level was "intermediate", which was much warranted by the complexity of the joinery underneath. The $12 design were useful, although I had to wing most measurements to fit the vagaries of working with rough lumber AND getting the table to be a whole 14" longer than designed.

The stretcher is made of hard maple while the tabletop is made of quatersawn white oak (which looks red to me). Milling the oak in all of its 8' length was impossible on a 6" jointer, so I had to improvise and joint on the tablesaw using a 8' melamine shelf as a sleigh (and some weird clamps that I found at busy bee tools). Overall, the table top is fine although I find it a bit rough. I have to say that I learned how to properly used the No.5 Handplane on the job. Some 6 hours of intense aerobic exercise were needed to bring the top to a reasonable flatness. I also had never dealt with such a large surface to finish: two danish oils and 5 Polyurethane coats later, I thing that I'm getting a feel for the process.

Flat and shiny... 
Chloe, ready to baptize this bad boy.
I'm glad to be done and look forward to finish my ambitious TV stand. It is nice to know that this table will be used every days, for decades to come, to have dinner with my family, spill wine, pass the salad, violently roll our eyes, etc.

Here are a few more pictures:


Saturday, July 30, 2011

Hayrake table, progress

The hammer and the finger a few days later. It doesn't look
10% as grotesque as I felt when it happened... 
After a week off playing full time furniture maker, I did make a lot of progress toward the Hayrake table. Sadly, wednesday was partially wasted by an accident where I hit my nail as hard as I could with a mortising hammer. The nail tore in the middle and most of the blood drained through. If you never have done this, it hurts a lot. I duly walked to the bathroom where I passed out for about a minute. Strangely, there is very few evidence left of this embarrassing episode as of Saturday night...


The stretcher was a very challenging piece of joinery. It contains two round end-caps, each with three joints at 45 degrees relative to each other. The end-caps connect to two stretchers at 45 degrees with the central stretcher. Pfew, it took me three days to cut all the joints. In the end, they came together without a real fight and I'm now a lot more precise and fast at it. Yet, I added a mortising machine to my dream list of tools. 


With the legs pretending to be assembled.
Some 37 hours later, I have most of the joinery done for the table, and look forward to add the apron, finish the structure with a cherry stain (to match the chairs and China cabinet), and finally tackle the monster job of jointing the tabletop with my small equipment (I've got a McGiver-style plan for that!). My 50 hours estimate for the overall project will be an underestimate, but not by a lot.

Signing off!


Tuesday, July 26, 2011

Week of woodworking

The stretcher system taking form.
This week is off and the main objective is to get the dining room table done. I don't know whether this is going to happen, but I'll try as hard as I can. This being said, I spent the day with the girls hiking and eating in a fine Japanese restaurant. I rest my case.

The Hayrake table is a nice learning project, rated as intermediate in terms of skills. There is a lot of angled joinery such as these shown on the picture to the right. Tomorrow, I'm getting started on the rounded end-cap, with the most challenging joinery details.

Here is a sample of the stretcher with a somewhat similar end-cap.

A sample of a hayrake table.